Thursday, October 30, 2008
Show and Tell Friday!
Welcome to “Show and Tell Friday!” Do you have something special to share with us? It could be a trinket from grade school, a piece of jewelry, or a treasured collection. Look around your home for something to share; dig through those boxes in your closet if you have to! Share photos and the story that goes with your special item.
I've had an awful cold this week, so my show and tell is short and simple.
Today, I got my voter's registration card in the mail and went and voted for the very first time!
I was born in Canada and became a citizen of the United States several years ago. I still have the little flag they gave me at the swearing-in ceremony.
Afterwards, Phillip took us out for dinner to celebrate. Now, I'm heading back to my box of kleenex!
Please read the Show and Tell Guidelines for step-by-step instructions on how to participate.
If you would like to join in, please leave your *permalink* below, along with your first name only (this makes the list easier to read). If your link has been removed from Mr. Linky, please re-read over the guidelines before re-posting. Have fun!
Links are now closed. Please join us next week!
Homemade Christmas Card~Paper Crafting Thursday!
The winners of last week's paper crafting are Christine and Angel . Please email me your addresses and I'll get your prizes in the mail!
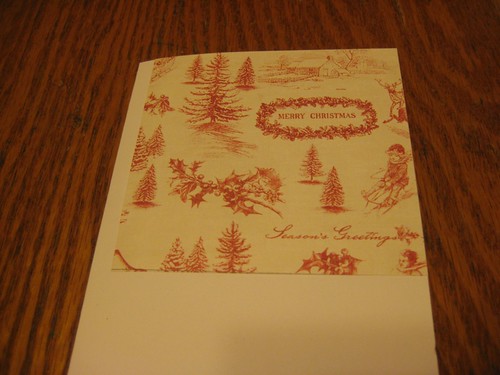
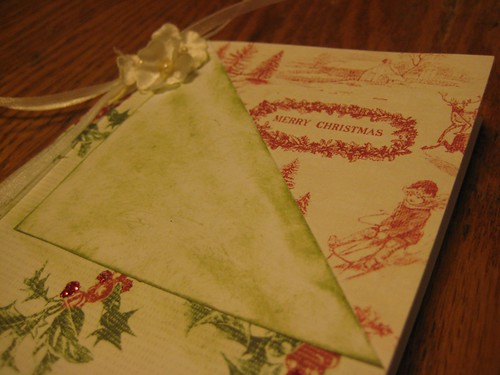
Welcome to this week's project! On this card, the top corner folds down to reveal a pretty Christmas scene.
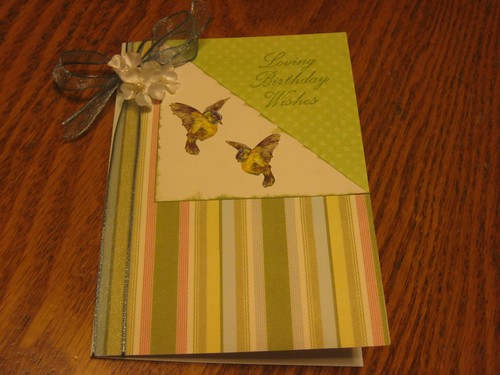
I also made a birthday themed card.
You will need a 5 1/2" x 4" notecard.
Glue a 4" square of scrapbook paper to upper right corner.
Cut a 5 1/2" x 4" piece of coordinating scrapbook paper. Lay on top of card and fold down corner.
Glue to front of card.
Dab edges of flap with ink, if desired. Glue down.
Add a bow along the left edge and stickers.
I ended up dabbing green ink to the entire flap. Send to a friend!
Here are a few other things I made this week:
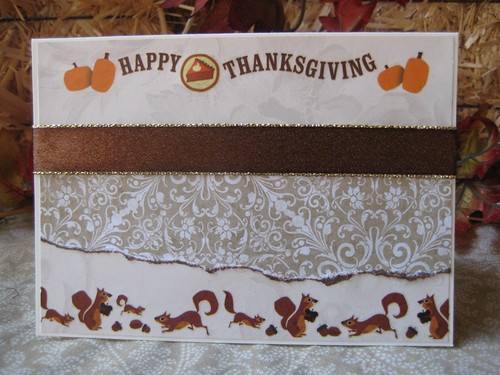
Thanksgiving place cards
Isn't he cute?!
~More Homemade Cards~
Paper Craft Fun: Post any kind of paper craft (card, bookmark, tag, banner, journal, etc.) on your blog between now and next week and come sign Mr. Linky. Next Thursday, I will draw two of the names and the winners will receive supplies for a homemade card: blank notecard, envelope, and an assortment of scrapbook paper, stickers (or stamped images), and ribbon. Link back here in your post, so that others will know where to join in the fun, too!
Thank you for stopping by!
Wednesday, October 29, 2008
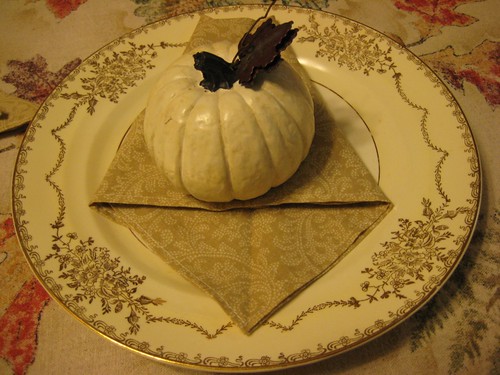
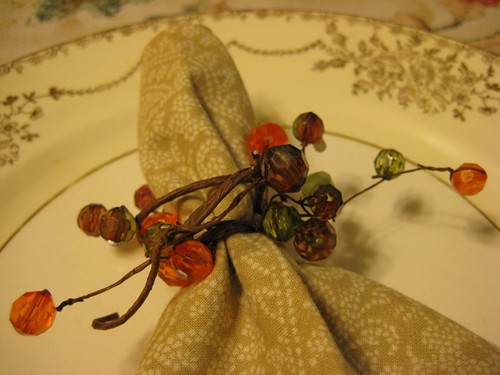
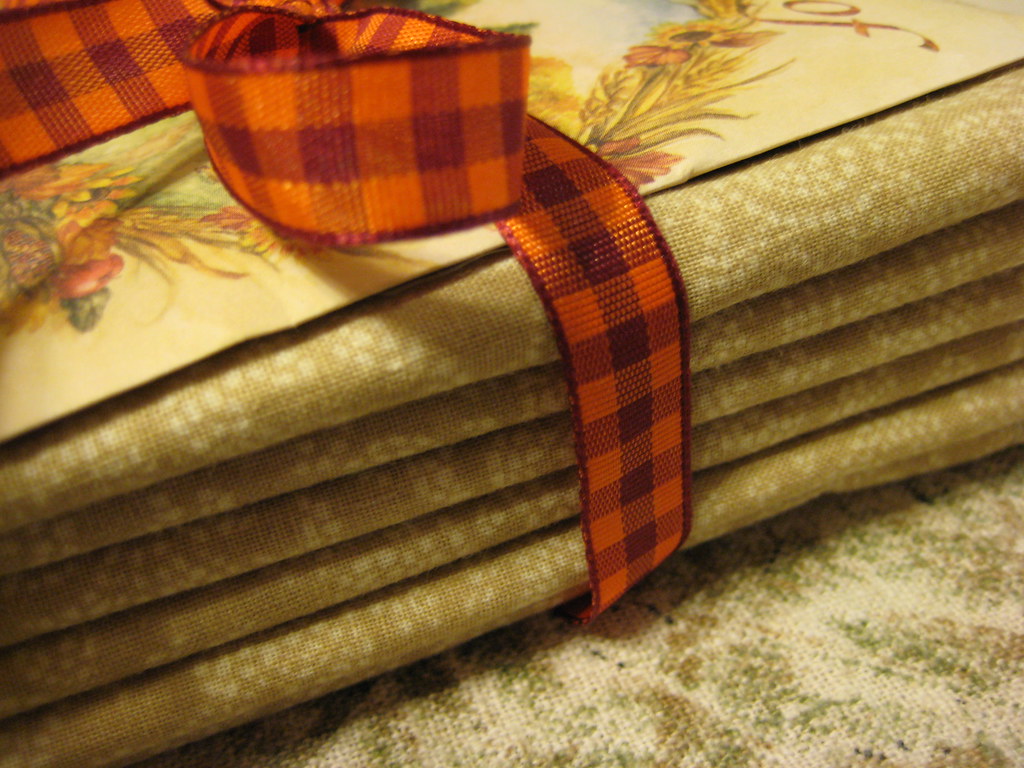
Fall Cloth Napkins
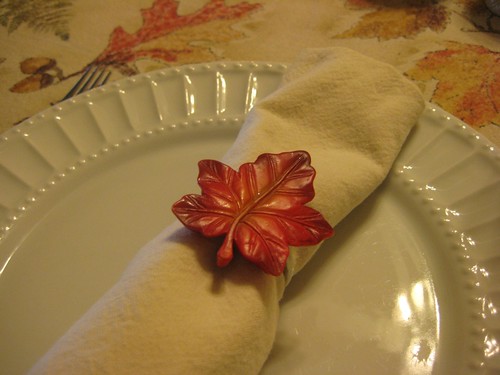
Hello everyone! Thank you for your comments on my easy entertaining post. To answer a few questions, I got the tablecloth at a yard sale many years ago, the leaf napkin rings from the Target $1.00 section last year, and I wish I grew those hydrangeas in my own garden. Maybe someday!
Last month my sewing machine was cooperating with me and I was able to work on some sewing projects. It was made in the 1940's and I actually call it "The Beast." I have put in an early request to Santa for a new machine. :0)
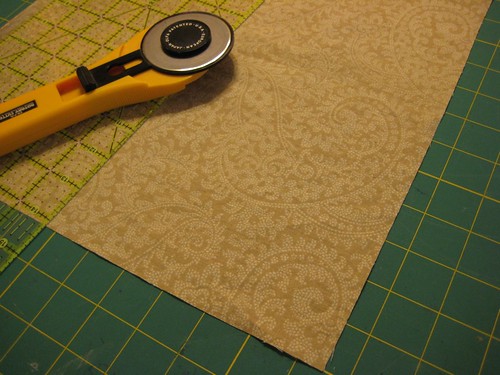
Anyways, if you have never sewed napkins, they are very quick and easy.
Here are some common napkin sizes:
Dinner: 18" or 22"
Luncheon or tea: 12" or 14"
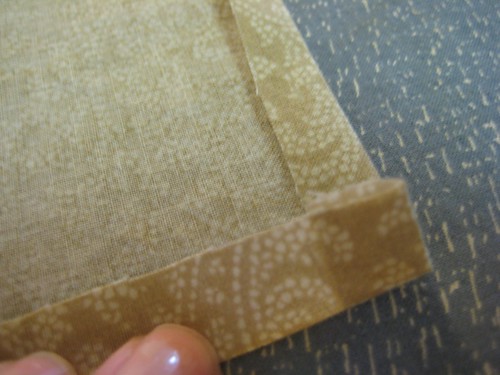
Iron over the edges.
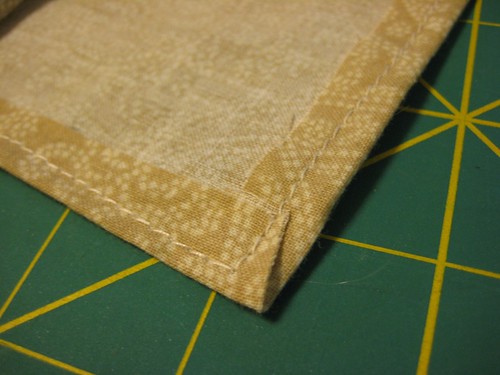
And sew 1/4" from the edges.
They make great gifts, too!
Thank you for taking a look!
Monday, October 27, 2008
Easy Entertaining
Good morning! Thank you so much your comments on my new Etsy shop and my treasures from the fair. I always enjoy seeing your show and tells each week, too.
We usually have a few friends over for a casual dinner Saturday evenings, but this week we had a bigger group: friends who recently got married, the groom's parents, our pastor, and another friend from church. Last week was busy with school, music lessons (we got a flat tire on the way there!) and getting our carpets cleaned, so I spaced my to-do list out over several days.
Wednesday
-Plan Menu:
Appetizer:
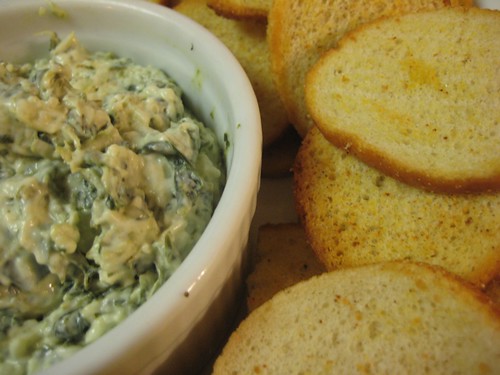
Bagel crisps and spinach dip (from Costco)
Dinner:
Baked ziti
Garden salad
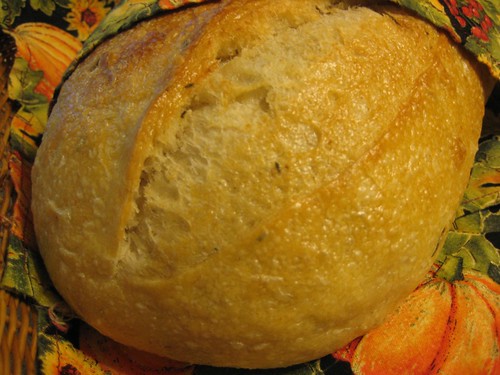
Rosemary bread (from Costco)
Dessert:
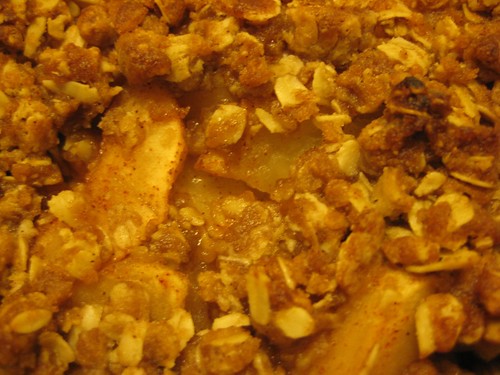
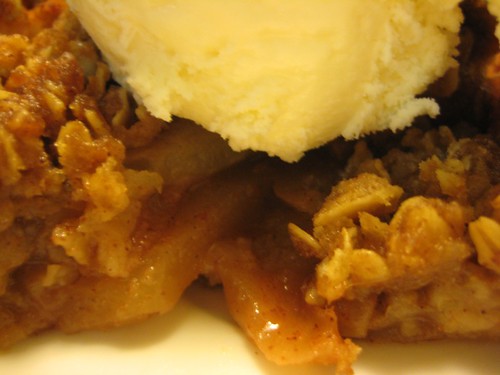
Apple crisp
Beverages:
Iced tea
Lemonade
Thursday
-Clean House:
Dust
Vacuum
Bathrooms
Friday
-Grocery shop
Saturday morning
-Quick tidy
-Make baked ziti and apple crisp (you could also make these Friday evening.)
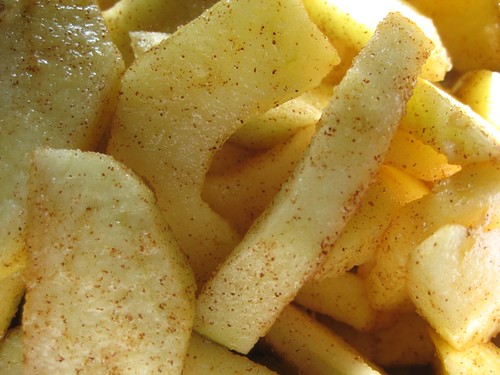
~Apple Crisp~
4 medium gala apples
4 medium Granny Smith apples
1/4 cup cinnamon sugar
1 1/2 cups all-purpose flour
2 cups rolled oats
1 1/2 teaspoon ground cinnamon
1/2 teaspoon ground nutmeg
1 1/2 cups packed brown sugar
1 cup butter
1. Preheat oven to 350 degrees F (175 degrees C).
1. Peel, core and slice apples. Toss with cinnamon sugar and pour into 9 x 13 pan.
2. In a large bowl, combine the flour, oatmeal, cinnamon, nutmeg and brown sugar. Cut butter into mixture until crumbly.
3. Sprinkle mixture with over apple slices and bake at 350 degrees F (175 degrees C) for 45 to 50 minutes or until apples are tender. Serve warm with vanilla ice cream!
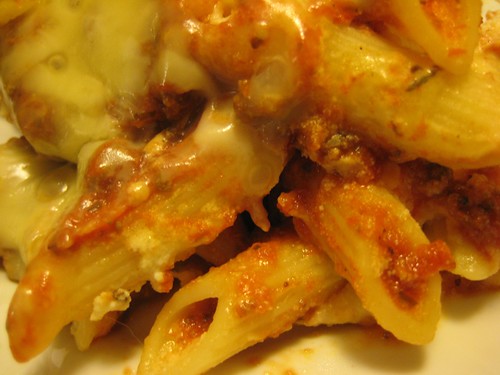
Baked Ziti
Ingredients:
1 (16 oz.) package penne pasta
1 tablespoon olive oil
1 lb. ground beef
2 teaspoons garlic powder
2 teaspoons Italian seasoning
1 teaspoon salt
1/4 teaspoon black pepper
1 egg, beaten
4 cups marinara sauce (purchased or homemade)
15 ounces ricotta cheese
2 cups shredded mozzarella cheese
8 ounces sliced mozzarella cheese
1/4 cup grated parmesan cheese
Instructions:
1. Bring a large pot of lightly salted water to a boil. Add pasta and cook for 8 to 10 minutes or until al dente. Drain and set aside.
2. Heat olive oil in large frying pan over medium-high heat. Add ground beef. As the meat cooks, add garlic powder and Italian seasoning, as well as salt and pepper. Cook until evenly brown, and drain off any fat.
3. Add marinara sauce to meat and simmer (low heat) for 15 minutes.
4. In a large bowl, mix ricotta, shredded mozzarella, and egg, adding more black pepper if desired. Add cooked pasta to mixture and stir gently.
5. Preheat oven to 375°F. Begin layering your ingredients in a lightly-greased 9x13” baking dish as follows: a thin layer of meat-sauce mixture in the bottom of pan, then a layer of cheese and noodle mixture, then another thin layer of meat sauce and another layer of cheese and noodle. Repeat as necessary, ending with meat sauce on top.
6. Top with mozzarella cheese slices and parmesan cheese.
7. Bake for about 30 minutes or until the ziti is heated through and the cheeses are melted.
-Wash, dry and put away all pots and pans.
-Unload dishwasher before guests arrive.
-Set table
-Enjoy your dinner and company!
Do you have any easy entertaining tips to share, too? I hope you all have a wonderful start to your week!
Thursday, October 23, 2008
Show and Tell Friday!
Welcome to “Show and Tell Friday!” Do you have something special to share with us? It could be a trinket from grade school, a piece of jewelry, or a treasured collection. Look around your home for something to share; dig through those boxes in your closet if you have to! Share photos and the story that goes with your special item.
Last week we went to the Texas State Fair for the first time. I've always wanted to go, so when our pastor's wife offered us free tickets, I gladly took them!
One of the highlights was riding the huge ferris wheel. I closed my eyes going up the first time around, but felt more brave the second time. :0)
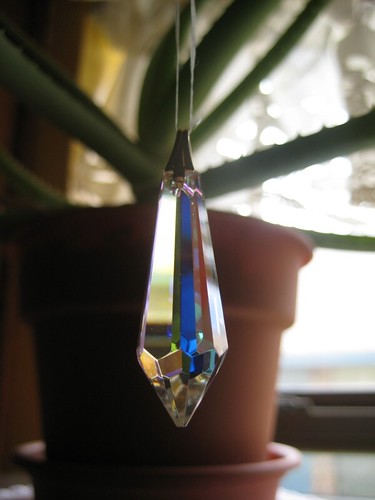
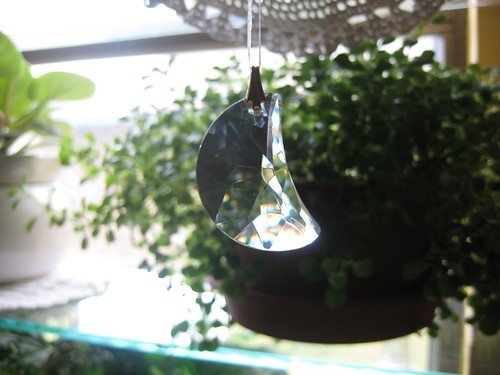
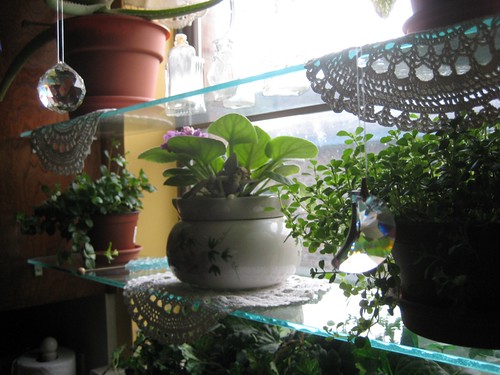
Along with the games, rides and food, there were craft and gift booths. Phillip got me two new crystals for my kitchen window.
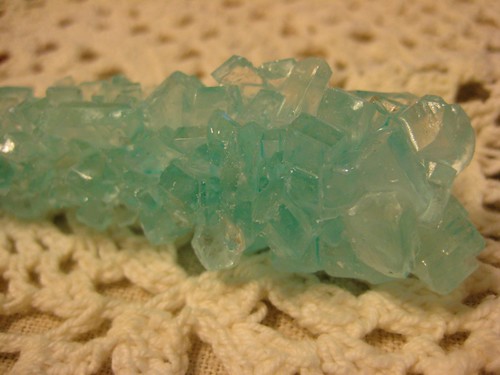
He also got me a stick of rock candy. A few years before we were married, he gave me a similar stick from the Del Mar fair in San Diego, CA. It sat on my dresser for many years, but eventually crumbled away.
Now I have a brand new stick to remind me of those special times! Thank you for looking at my fair treasures!
Please read the Show and Tell Guidelines for step-by-step instructions on how to participate.
If you would like to join in, please leave your *permalink* below, along with your first name only (this makes the list easier to read). If your link has been removed from Mr. Linky, please re-read over the guidelines before re-posting. Have fun!
Etsy Shop Opening!
Hello! I have a special announcement to make tonight. Many times I have been asked about opening an Etsy shop. I actually opened an account last March, but the timing wasn't right. Well, I have been filling up my shop this week and would love for you to stop by for a visit!
Seasonal Delights Etsy Shop
Thank you for taking a look!
Seasonal Delights Etsy Shop
Thank you for taking a look!