
I'm really excited about this week's card making project. My friend Cathy told me all about a new technique and I made several cards last night in about 20 minutes. We won't be using any scrapbook paper today.

Instead, get out all your paper napkins! You can also use gift-wrap tissue or paper guest towels.
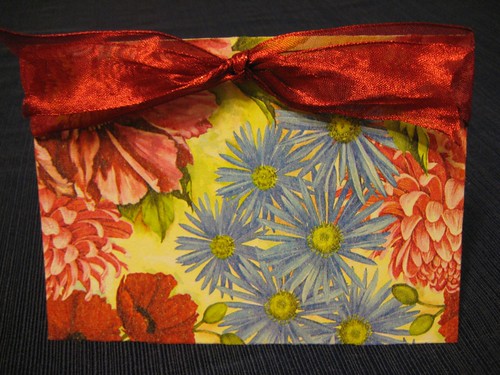
You will also need:
-Blank notecards
-Saran wrap (the cheapest brand will be the thinnest and works best)
-Scissors
-Iron and ironing board
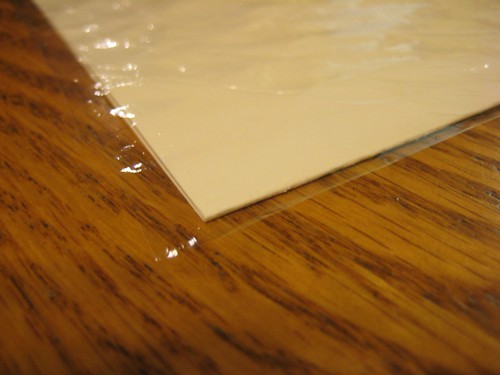
Take a blank card and cut a piece of saran wrap just a bit larger than your card. Lay saran wrap on top of card. I would do this on the ironing board, so you don't have to move it later.
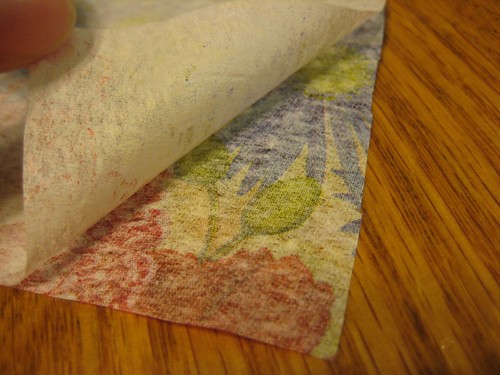
Take a napkin and cut it just a big larger than the saran wrap. Be sure to remove all the "plies" or layers or it won't work properly. Most napkins have two plies but some have 3 or 4.

Lay the napkin right side up on top of saran wrap.

Take one of the plies and put that over the card sandwich . This will protect your iron from getting glue on it.
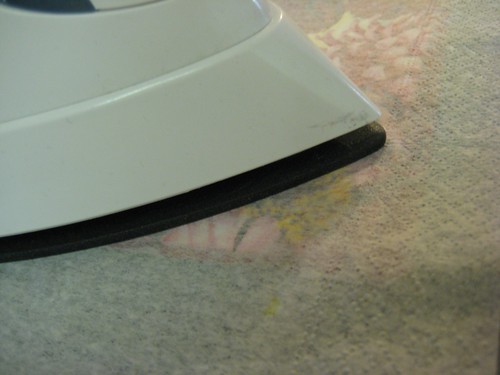
Use a dry iron (no steam) with it set on a 5 or 6. I used the "silk" setting and with an up and down motion press the iron down for 6-8 seconds all over the card. You are literally melting the saran wrap which makes the glue.
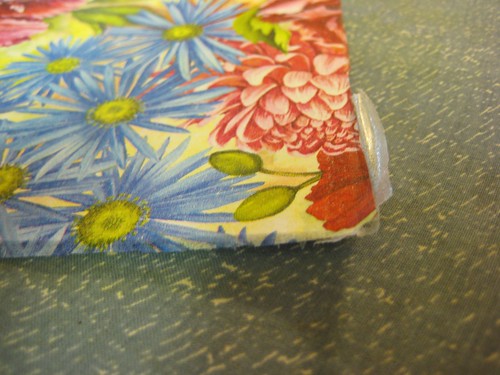
Gently lift off the protective layer, being careful because it will be hot.
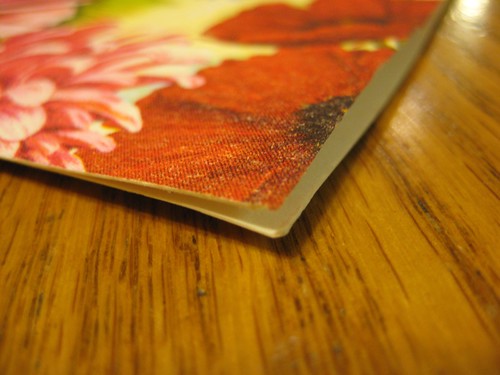
Trim the edges with scissors. If you see a spot that didn't adhere correctly, take a toothpick with a tiny amount of glue and put it under the lifted area.

Finished card.
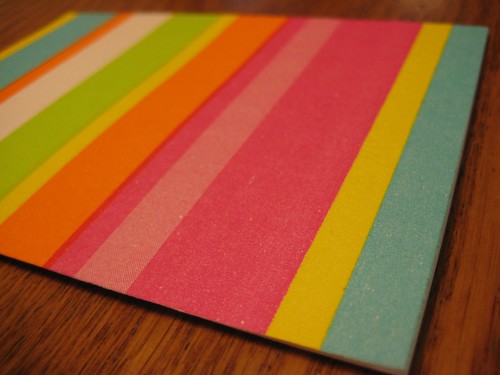
Here is another card I made.

I added a decorated cardstock square.

And lastly, a summer seashell card with a small bow.
I hope you enjoyed the project and let me know if you make some too!

Way too cool! I can't wait to try this.
ReplyDeleteThank you for sharing this great idea. I have heard and tried before to use fancy paper napkins for decopage projects before but never using saran wrap. Wow that is simply amazing! This project will definately be a keeper.
ReplyDeleteBlessings,
Amy
http://homeplatefun.blogspot.com
Kelli I dont know how you do all that. I dont have a steady hand at all....I have a hard time taking stitches & staples out of folks! Mama has sent me some pretty cards of late....she's got the tough like you do!
ReplyDeleteThose are darling! Thank you for sharing them with us!
ReplyDeleteWhat a neat idea! And, my, those are some vivid napkins!
ReplyDeleteThose were so cute! Wish I had some paper napkins just about now... I won't forget the tip.
ReplyDeleteThis looks like such a fun project Kelli! Thanks for sharing this great idea!
ReplyDeletexo
What a great idea! I'm going to file this away and maybe use it at a ladies retreat.
ReplyDeleteI also just swiped your Banana Crumb muffin recipe to use for my grandson's baby shower this weekend. We are doing a monkey theme and the banana muffins will work great! Thanks!
I saw this project years ago on a Carol Duvall show and thought it was the neatest thing. It still is! Thanks for sharing!
ReplyDeletewhat a great idea...I am going to make some now for my upcoming summer "stitching" party this month...thanks for sharing..
ReplyDeleteCan't wait to try this! Thanks for sharing yet another awesome technique!hugs, Linda
ReplyDeleteThose are gorgeous. I can't wait to give them a try.
ReplyDeleteAlso, congratulations on the new family member. That is such an awesome breed of dog for a family. I know that she will be so loved.
What a neat idea...I used to make paper napkin covered picture frames in the 1980s..you use one ply of the napkin torn in pieces and use decoupage medium to hold them in place.
ReplyDeleteHi Kelli :) What a marvelous craft idea! Thanks so much for sharing it. Love, Q
ReplyDeleteKelli,
ReplyDeleteI forgot to add this:
You are cordially invited to take part in my June giveaway. Have you heard of Elsie Dinsmore? I’m giving away Book 1. I’d love to see you.
that's so creative! thanks Kelli!
ReplyDeleteSuch a brilliant idea to make cards this way!! I never would have thought of using saran wrap as the glue! The cards you made are just gorgeous.
ReplyDeleteAwwww Daisy is just adorable! How exciting to have your first family pet, I'm sure she will bring tons of joy to all of you...well except when she chews your favourite shoe...or chews on your furniture...or....hehe, just teasing!! xoxo
Your readers might like to know that you can use this method with beautiful scraps of fabric. The iron has to be on hot, and a press cloth is required, and it may take a bit more pressure than the paper napkins. Mine is on todays post at www.homeliving.blogspot.com, made with decorator fabric. Your friend Cathy was also the one who showed me how to do it!
ReplyDeleteI enjoy making cards from time to time. I love this idea! Thank you for sharing.
ReplyDeleteWow. Now we have to find some really nice napkins, too. That is beautiful Kelli. I'll bet the textures are really great. Thank you!
ReplyDeleteNancy
This is such a great idea! Thanks for sharing!! :)
ReplyDeleteThat is so clever. Now that I am into making cards I'm going to have to try this.
ReplyDeleteVery cute and very creative, Kelli! You did a great job. I'm definitely going to try this project. Thanks for sharing!
ReplyDeleteKelli this is too cool! I have a whole mess of pretty napkins I got at the party supply store sale and now I finally have some project to use them for! Thanks again for the great idea, I will be trying this techinque soon for sure!
ReplyDeleteI LOVE this idea!!! I've been known to bring home cute paper napkins from parties because, well, just because they were cute! Now I'll actually have a use for them!! :)
ReplyDeleteThank you for sharing this great idea!
His,
Mrs. U
That is really, really cool! I can see why you're so excited about it! :-)
ReplyDeleteThis is awesome. Can't wait to try it!
ReplyDelete