Thank you for your comments on my dad's childhood books this past Friday. I will make my way around to your show and tells; a weekend migraine slowed me down. I'm excited to see that many of you will be joining in for our week of "Giving Thanks!" I have added a few more details to the post, along with the code for the small picture.

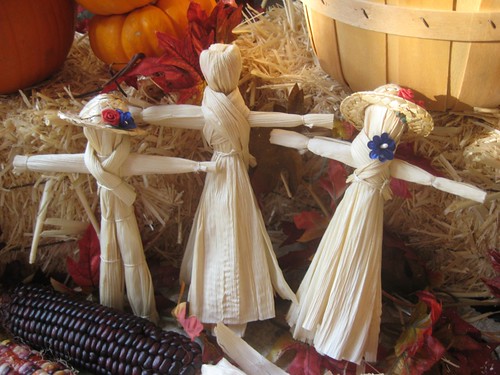
Today, I am sharing our corn husk dolls. In our Faith Keeper's group, we are working on our American Heritage badge and all of the girls wanted to make dolls for the craft project.


Lots of busy hands! Here is what you will need to make your own dolls:

~Corn husks (found in the produce department of many stores. I found them in the Latin foods section at Walmart.)
~String
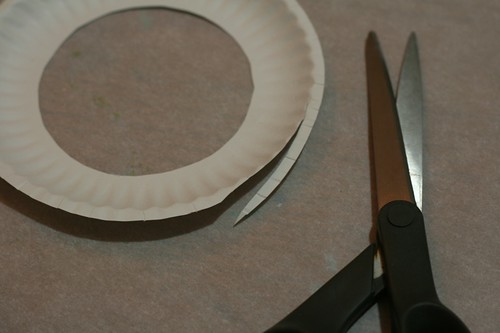
~Scissors
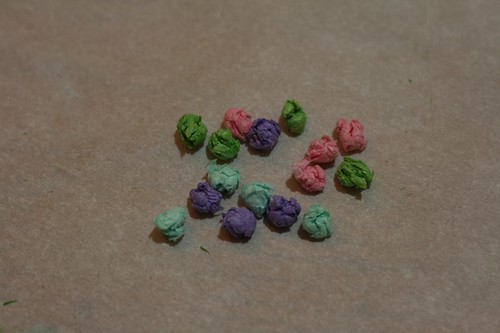
~Hats and tiny flowers are optional (I found them at Hobby Lobby)

You will need 6 husks for each doll. Soak husks in sink or bowl of warm water until they are soft and bendable. This takes about 15 minutes.
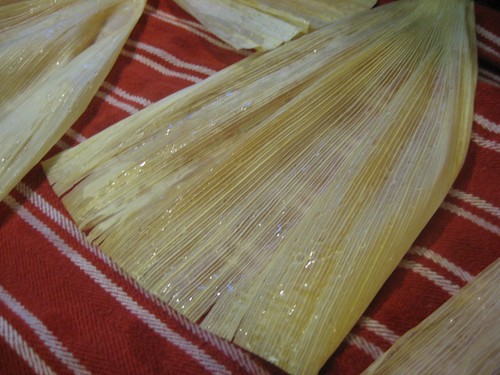
Lay husks on towel. You will need to make your doll while they are still wet.

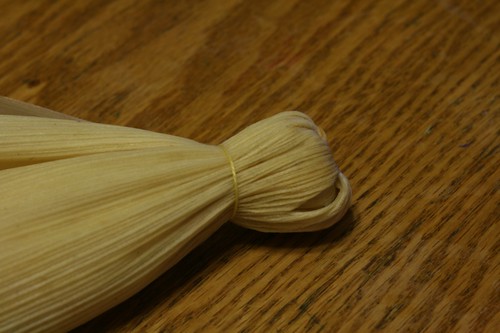
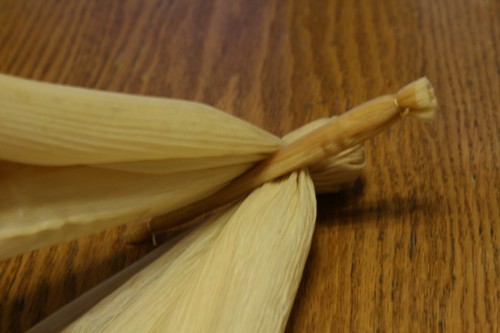
Choose four husks about the same size and lay them down on top of another.
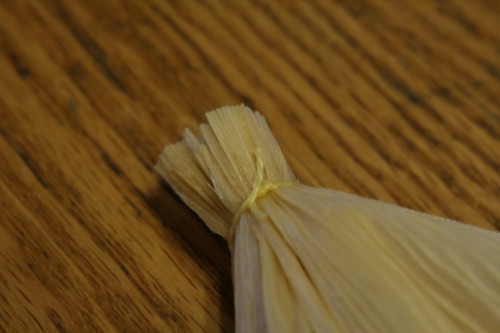
Tie the pointy ends together close to the top. It helps to have a buddy when making the dolls. Make sure you get the string very tight and tie several knots. Trim ends.
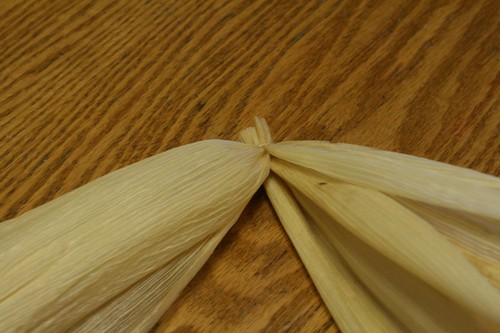
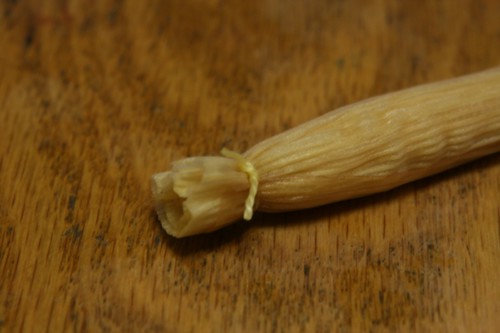
Separate the husks into two sections (two husks in each hand) and flip them over so that the string is inside.

This forms the doll's head.
Tie a string around the husks to make the head.
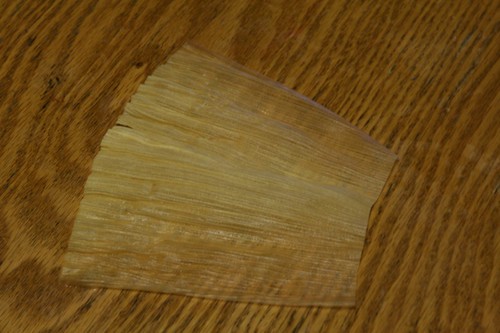
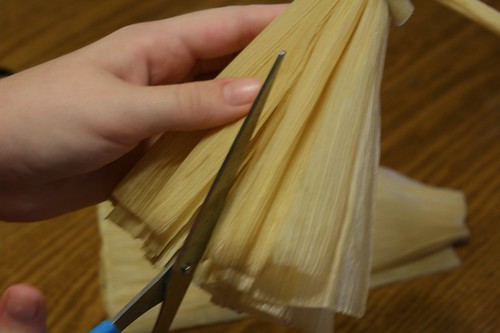
Take another corn husk and smooth it flat. Trim the pointed end straight across with scissors.
Roll the husk into a tight tube and tie each end of tube with a piece of string. This forms the arms.
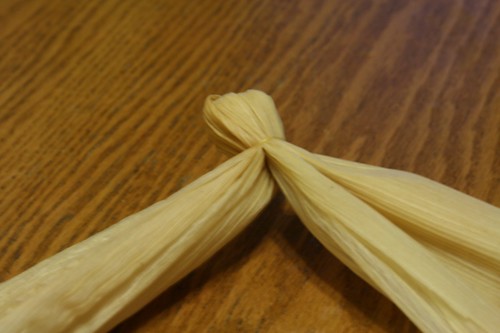
Separate the husks again (two in each hand).
Place the tube between the body husks, right below the head, so that an arm sticks out on each side.
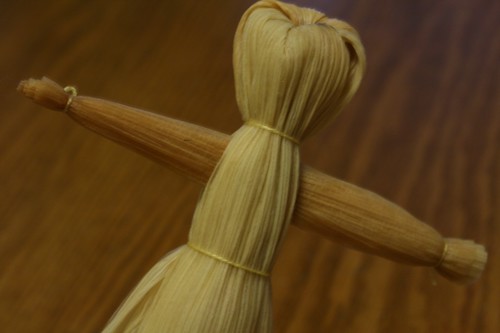
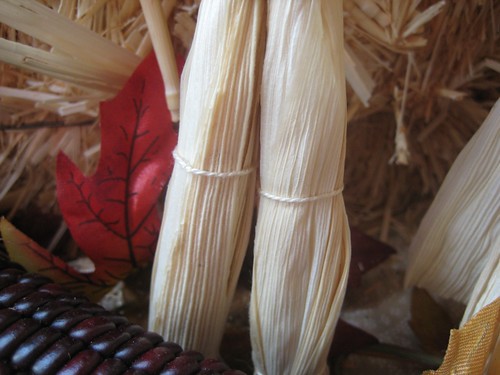
Make a waist for the doll by tying a piece of string around the body husks below the arms.

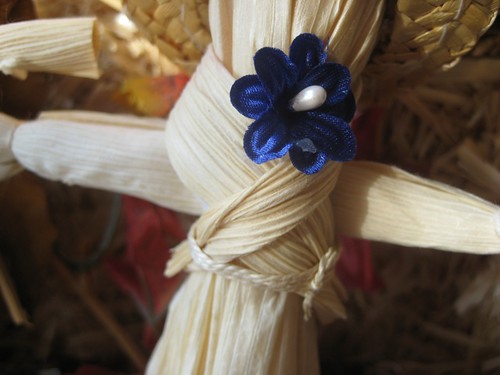
Take another husk and roll up, loosely.
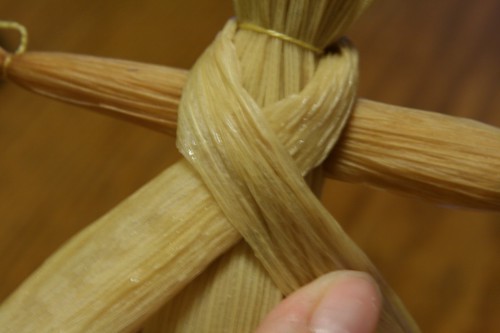
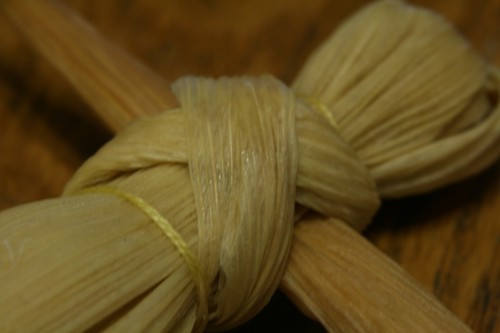
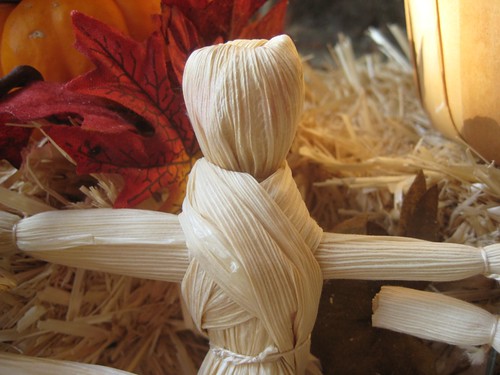
Warp it around the back of the neck and criss-cross across the chest.

Bring back around to the back and secure with string.
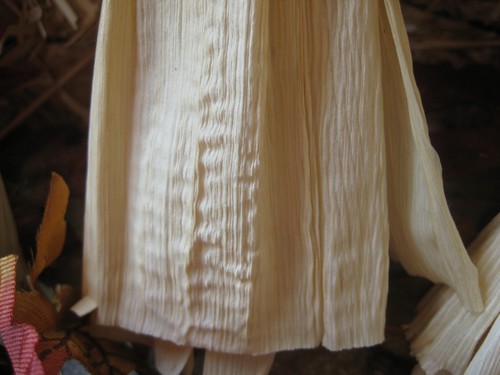
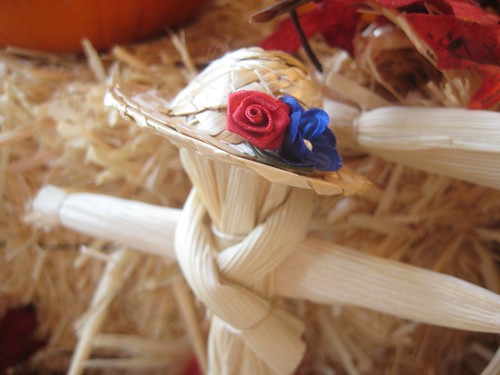
Your doll is finished and should have a beautiful corn husk skirt. Set aside to dry.
You can also make pants by cutting up the center of husks.
And tying string at the ankles and knees.
Corn husk doll faces are usually left blank, but we added a little blush to their cheeks.
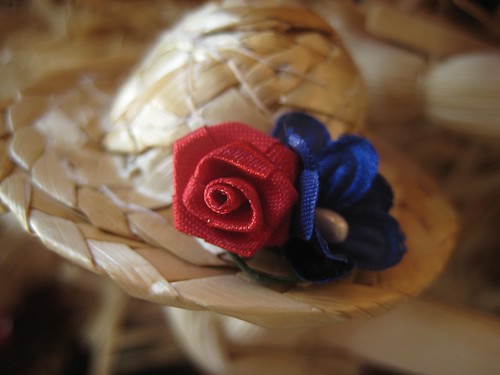
We also gave our dolls tiny straw hats decorated with flowers.
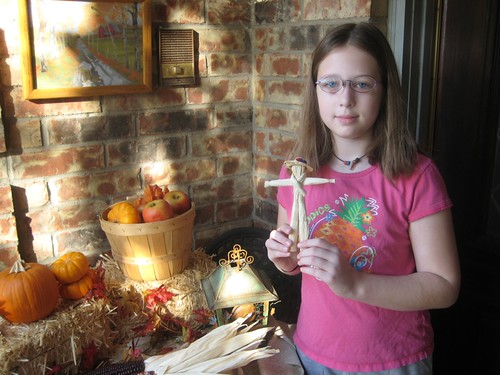
Grace and her doll.
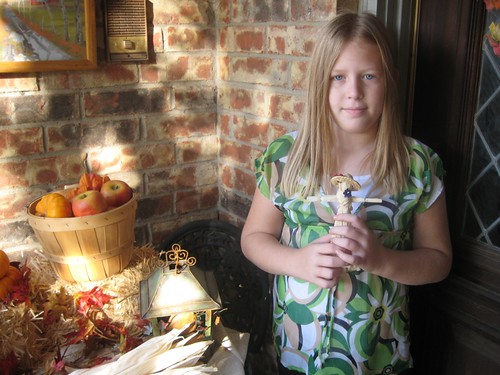
Emily and her doll.
Thank you for taking a look and let me know if you make some, too. They would be so cute added to a Thanksgiving centerpiece or place even card holders!


