Showing posts with label Sewing. Show all posts

Wednesday, October 29, 2008

Fall Cloth Napkins

Hello everyone! Thank you for your comments on my easy entertaining post. To answer a few questions, I got the tablecloth at a yard sale many years ago, the leaf napkin rings from the Target $1.00 section last year, and I wish I grew those hydrangeas in my own garden. Maybe someday!

Autumn gift
Last month my sewing machine was cooperating with me and I was able to work on some sewing projects. It was made in the 1940's and I actually call it "The Beast." I have put in an early request to Santa for a new machine. :0)

Napkins
Anyways, if you have never sewed napkins, they are very quick and easy.

Napkins

Fabric
Here are some common napkin sizes:
Dinner: 18" or 22"
Luncheon or tea: 12" or 14"

Napkin
Iron over the edges.


Napkin
And sew 1/4" from the edges.

Autumn dinner

Autumn napkin ring

Napkin gift bundle
They make great gifts, too!

Autumn gift
Thank you for taking a look!

Tuesday, August 26, 2008

Apron Tutorial

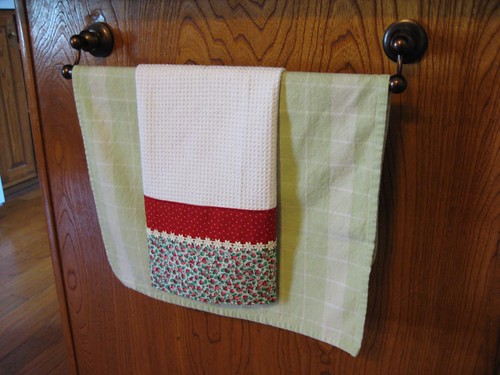
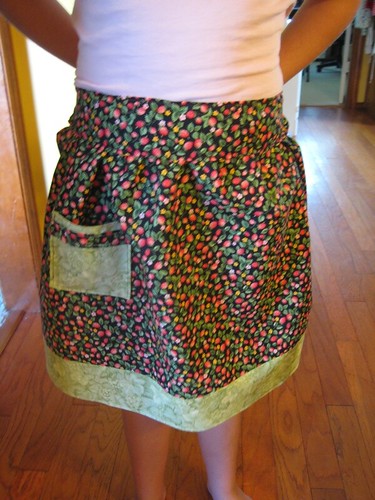
Good morning! I hope you aren't tired of hearing about aprons, because t0day, I'm going to share a tutorial on how I made the one from my recent giveaway.

Apron
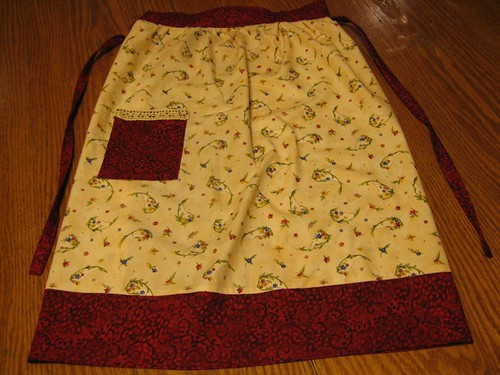
The measurements are based on a vintage apron I have. I made Grace and Emily's aprons smaller, but the steps are the same.

Fabric

Materials:

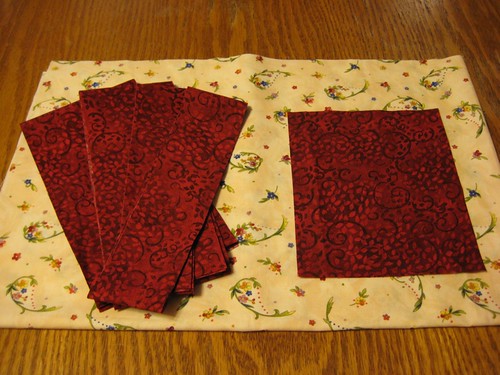
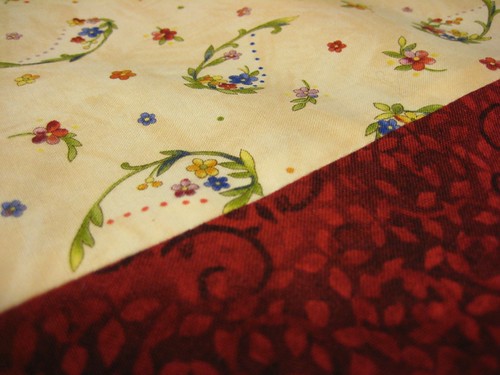
1 yard cotton fabric
1/2 yard coordinating fabric
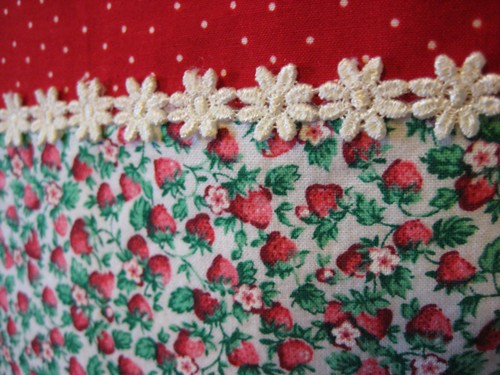
Lace or trim for pocket

Tools:

Scissors or rotary cutter and mat
Straight pins
Sewing needle or sewing machine
Thread
Iron and ironing board

Preparation:

Wash, dry and iron fabric.
Cut out 6 fabric pieces:

Apron: 20" x 30" (main fabric)
Pocket 5" x 6" (coordinating fabric)
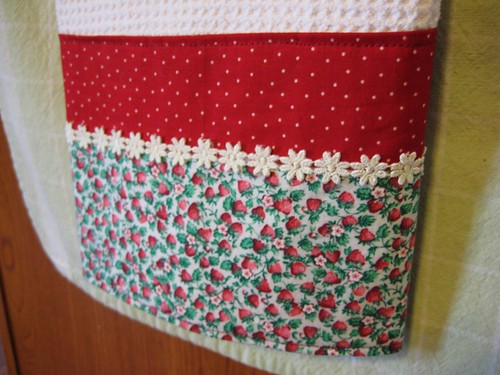
Bottom strip: 4" x 30" (coordinating fabric)
Top strip: 4" x 19" (coordinating fabric)
Apron strings: 2 of 2" x 30" (coordinating fabric)

Apron trim
1. Place bottom of apron and bottom strip fabric right sides together. Secure with pins.

Apron
2. Sew using 1/4" seam allowance. Remove pins and iron seams.

Apron
3. Fold over the top edge of pocket 1/2" and iron.

Lace
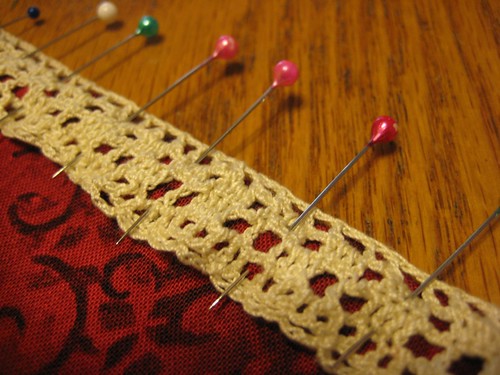
4. Pin lace or trim to top edge of right side of pocket.

Lace
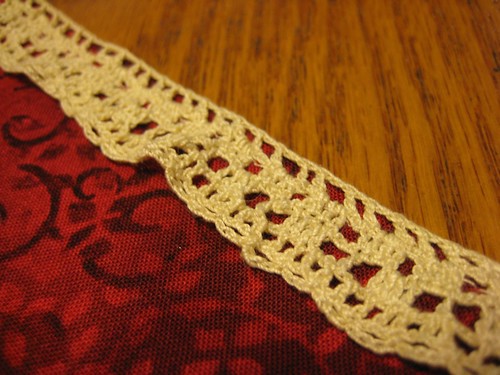
5. Sew in place. Remove pins.

Apron
6. Fold over remaining three edges of pocket 1/4" and iron in place.

Pocket
7. Pin to front of apron 5" from left side and 10" from the bottom. Sew. Remove pins.

Apron
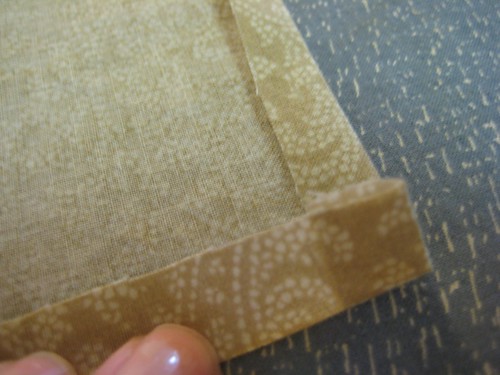
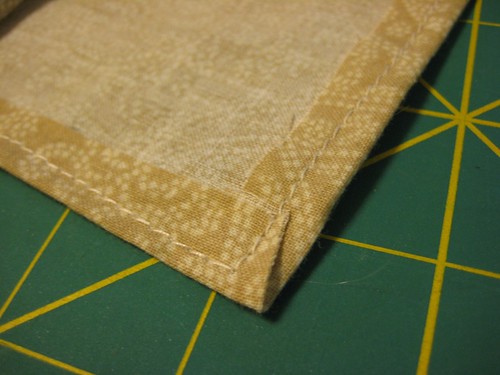
8. Fold over and iron the seams 1/2" along both sides and bottom of apron. Pin in place.

Apron
9. Sew using a 1/4" seam allowance, but stop 1/2" from top on both sides.

Apron
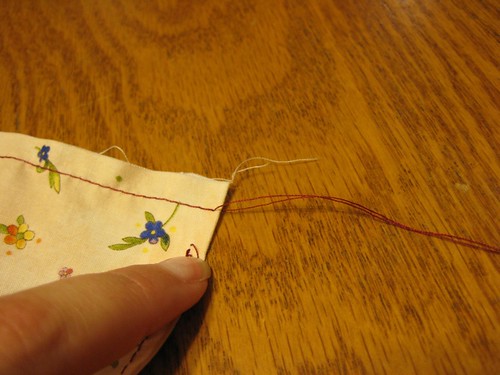
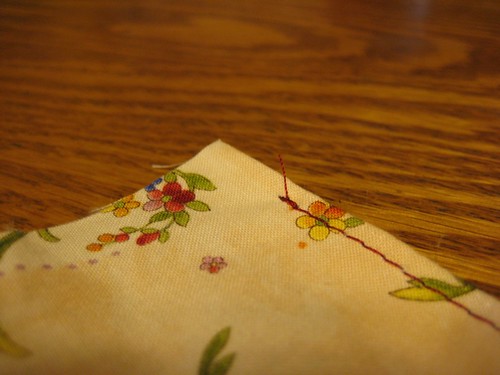
10. Using your machine's longest stitch, sew a basting stitch 1/2" from the top edge, leaving a long tail of thread at both ends.

Apron
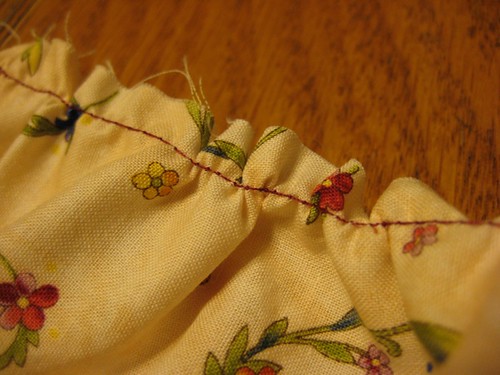
11. Pull the top thread carefully, gathering into a slight "ruffle," until the top measures 18 inches in length. Tie a knot on each end. Set aside.

Apron
12. Fold over and iron lengthwise seams 1/4" on top strip.

Apron
Fold in half and iron.

Apron
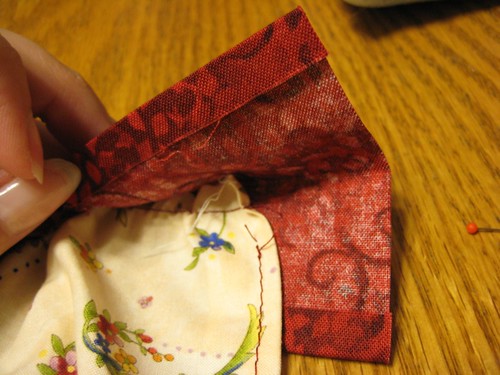
Slip gathered top of apron inside top strip, leaving 1/2" on each end.

Apron
Pin in place. Set aside.

Apron
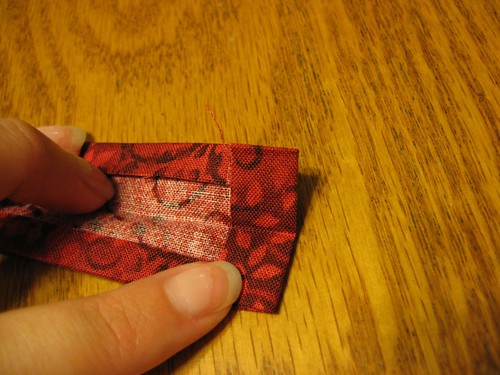
Fold over and iron the lengthwise seams and one end, 1/4" on apron string fabric.

Apron
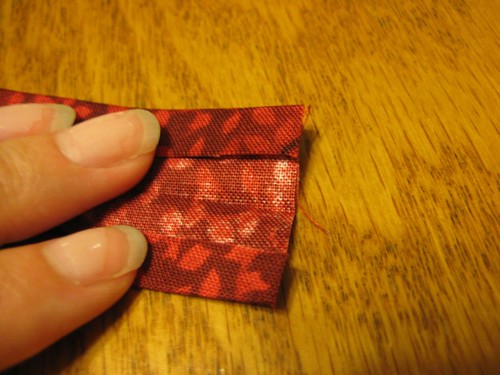
Do not fold the other end.

Apron
Fold strip in half and sew along folded edges.

Apron
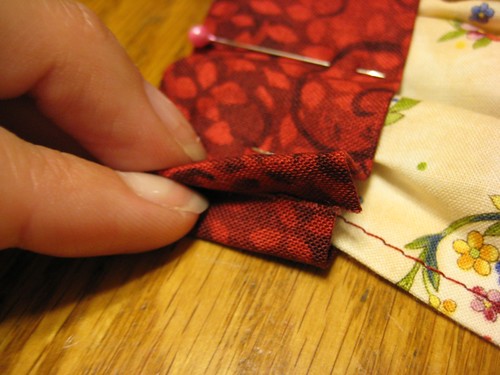
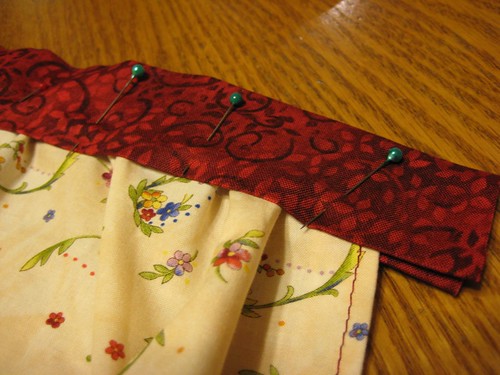
Fold in the seams of top strip sides 1/4".

Apron
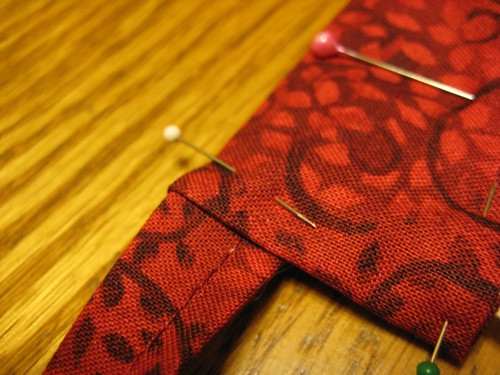
Slip unfolded end of apron string in 1/2". Secure with pins. Repeat with remaining apron string.

Apron
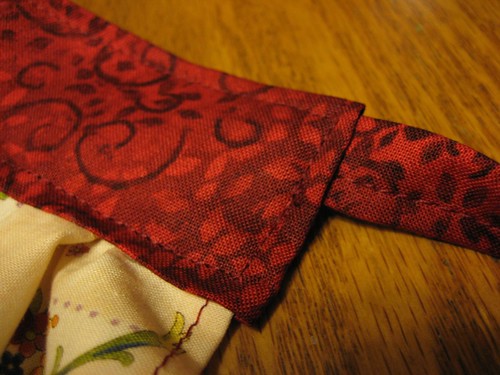
Sew along all 4 sides of top strip 1/4". Your apron is finished!

Apron
You can get different looks for your apron, depending on the fabric you use.

Apron
Double pocket.

Apron
Ruffled bottom trim.

Let me know if you make one, too. I'd love to stop by and take a look!

Wednesday, August 20, 2008

Blueberries Napkins and Bread

Bread
Good morning! We are on our third rainy day here in Texas and are all taking turns having sore throats and coughs. School will be starting soon and I'm taking advantage of my extra free time to finish up some sewing projects.

Magazine
I really liked these blueberry stamps in the recent Martha Stewart magazine.

Napkins
So, I made a set of 8 tea sized napkins.

Paint
All you need is fabric paint and a couple or corks.

Blueberries
Here are the complete instructions if you would like to give them a try: Blueberry Fabric Stamps.

Napkins
I let the paint dry over night, then hemmed the edges.

Bread
Speaking of blueberries, I made Mrs. H's Blueberry Quick Bread with Vanilla Sauce this past Friday when my friend, Revee and her girls came over for a visit. I had plenty of leftover blueberries, so I made another loaf yesterday.

Bread
The vanilla sauce is a delicious topping.

Bread
Thank you for stopping by and a special thank you to all who have entered my giveaway! I hope you are having a wonderful week.

Tuesday, August 05, 2008

Strawberry Jam Cover and Tea Towel

Good afternoon! Thank you coming by for a visit and for the comments on the blueberry pie. Sadly, it is all gone now. :0)

Jar cover
I have been in an extra crafty mood lately and I must have berries on my mind. I made this strawberry jam cover from felt and it was a lot of fun. My friend, Clarice made a lovely rose version. I know a lot of you are making homemade strawberry jam this time of year and a jar with one of these covers would make a great Christmas gift!

Strawberries
Tiny strawberries with french knots.

Strawberry
And another strawberry on top. Please visit Luckykate Crafts for the great tutorial.

Towel
I was also looking through my fabric stash and came across a small strip of strawberry print that I've had for at least 10 years.

Towel
I paired it up with some red and white polka dot fabric and sewed it to the bottom of a white kitchen towel.

Towels
Thank you for taking a look!