Thursday, January 29, 2009
Show and Tell Friday!
Welcome to “Show and Tell Friday!” Do you have something special to share with us? It could be a trinket from grade school, a piece of jewelry, or a treasured collection. Look around your home for something to share; dig through those boxes in your closet if you have to! Share photos and the story that goes with your special item.
Today I am sharing an early birthday present that my email friend, Cathy made for me. She wrapped it with pretty yellow (my favorite color) paper and ribbon.
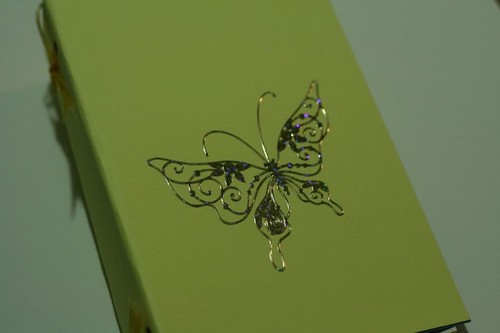
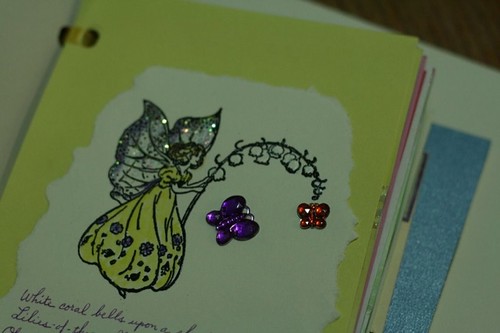
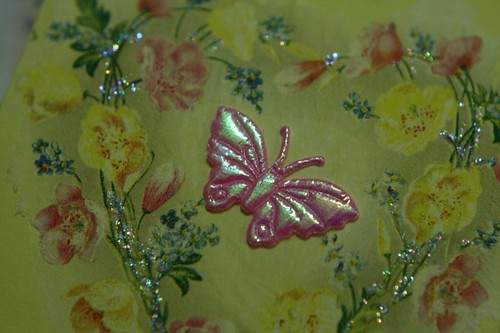
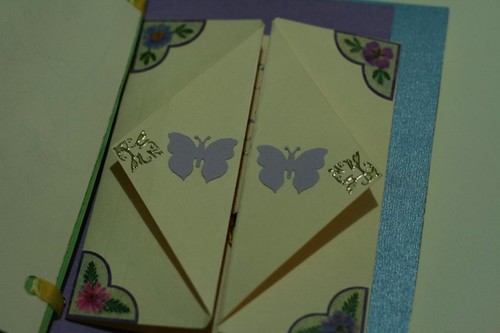
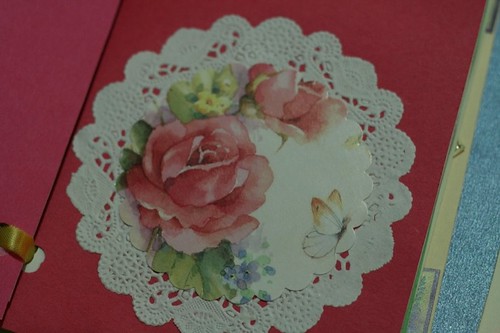
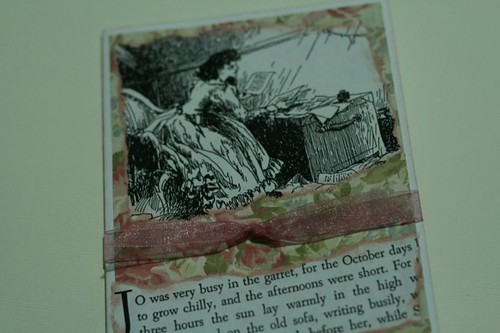
A homemade butterfly themed "collage book." Cathy filled it with poetry, artwork and beautiful embellishments. Take a peek inside...
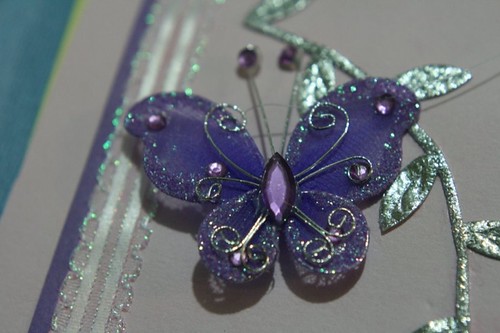
Isn't it wonderful?! Cathy put a lot of hard work and love into it and I am thankful for her thoughtfulness and friendship. Thank you for taking a look at my show and tell!
Please read the Show and Tell Guidelines for step-by-step instructions on how to participate.
If you would like to join in, please leave your *permalink* below, along with your first name only (this makes the list easier to read). If your link has been removed from Mr. Linky, please re-read over the guidelines before re-posting. Have fun!
Wednesday, January 28, 2009
Homemade Cards~Paper Crafting Thursday
The winners of last week's paper crafting are Michelle and Hannah. Please email me your addresses and I'll get your prizes in the mail!
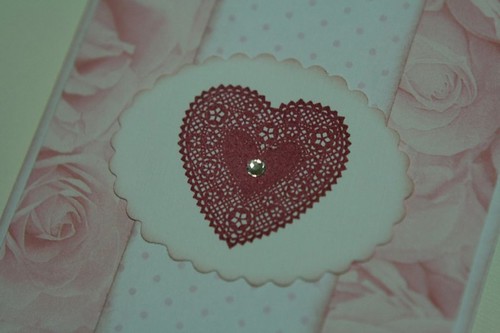
Welcome to this week's homemade card project! I made Valentine cards, but any kind of paper, stamps, or stickers will work.
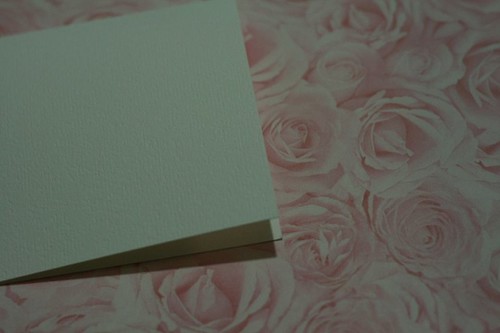
You will need a blank 5 1/2" x 4" notecard.
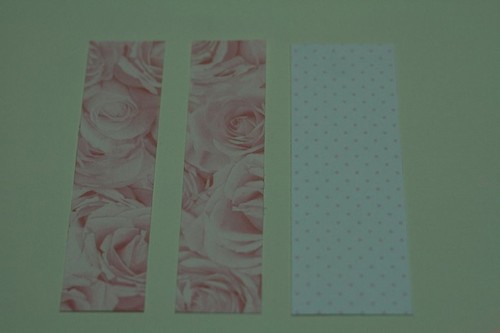
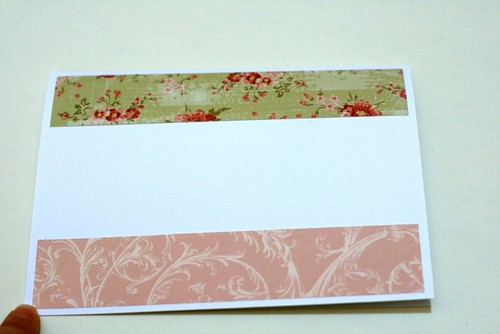
Cut 2- 1 1/4" x 5 1/4" strips of scrapbooking paper and 1- 2" x 5 1/4" strip from coordinating paper.
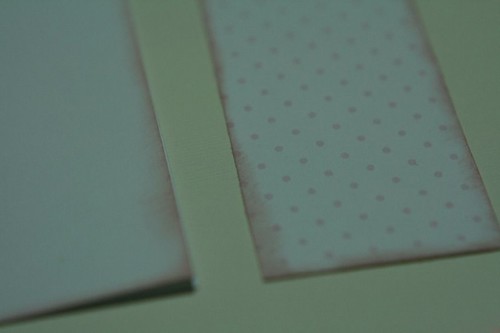
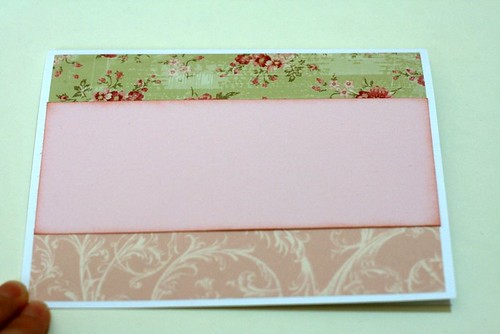
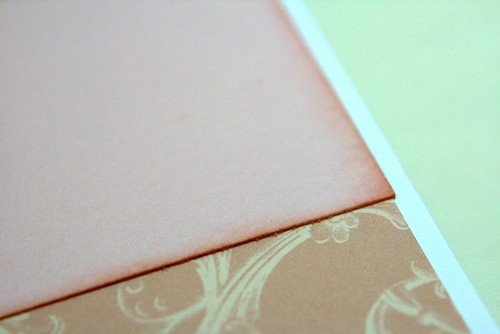
Shade the edges with an ink pad, if desired.
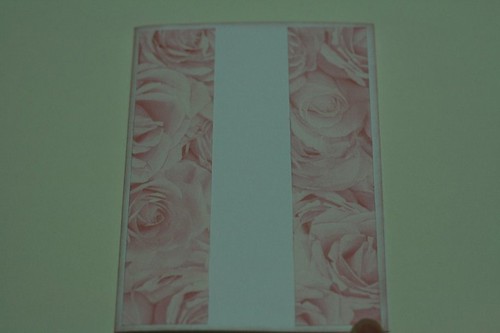
Glue smaller strips to front of card, as shown.
Glue the remaining strip in the center.
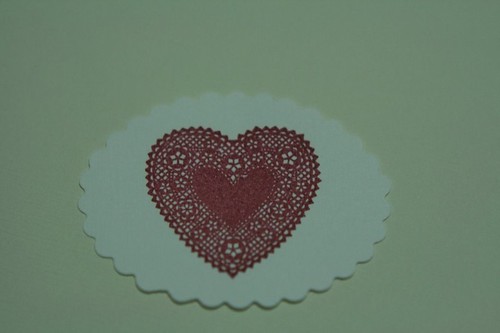
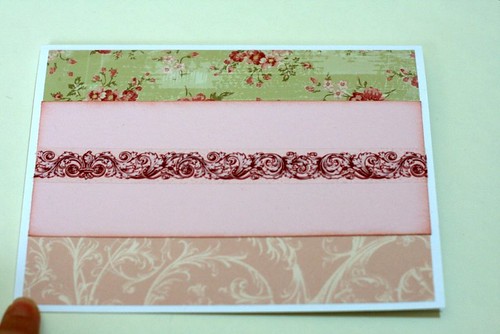
Cut a small oval from cardstock (size with depend on the stamp or stickers you use.) Add stamp or stickers.
Glue to front of card.
I also added a tiny gem.
Another version.
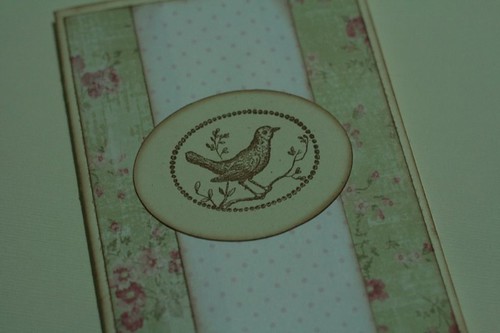
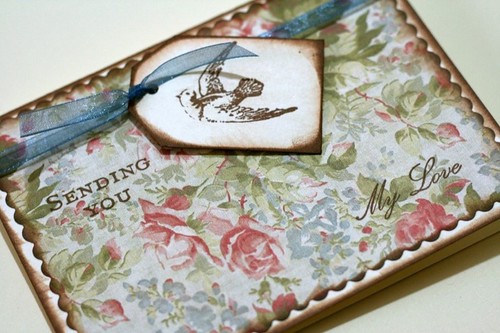
A vintage style bird version.
~More Homemade Cards~
A few more things I've made recently...
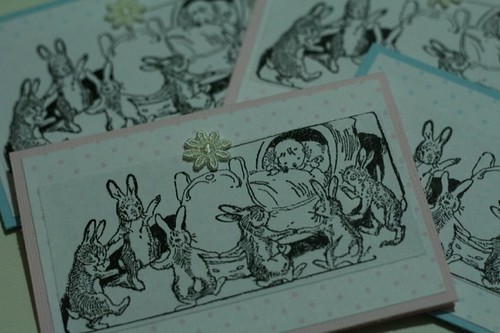
New baby petite notecards.
Little Women greeting card.
Secret Garden greeting card.
Paper doll fabric notecards.
Items can be found in my Etsy Shop! Thank you for stopping by for a visit!
Paper Craft Fun: Post any kind of paper craft (card, bookmark, tag, banner, journal, etc.) on your blog between now and next week and come sign Mr. Linky. Next Thursday, I will draw two of the names and the winners will receive supplies for a homemade card: blank notecard, envelope, and an assortment of scrapbook paper, stickers (or stamped images), and ribbon. Link back here in your post, so that others will know where to join in the fun, too!
Tuesday, January 27, 2009
Special Gifts
Good morning! We got some freezing rain and even a little snow last night, so it's an exciting morning at our house.
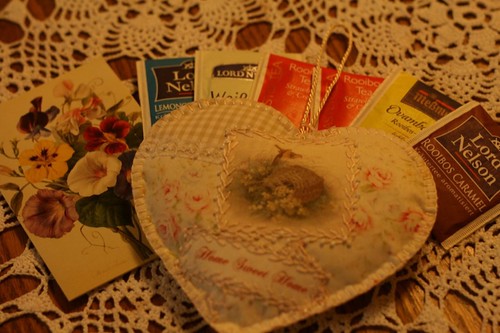
I received a surprise package from my friend, Anita at My Country Cottage Garden a few days ago. A pretty card, an assortment for German teas and best of all a new lavender filled heart!
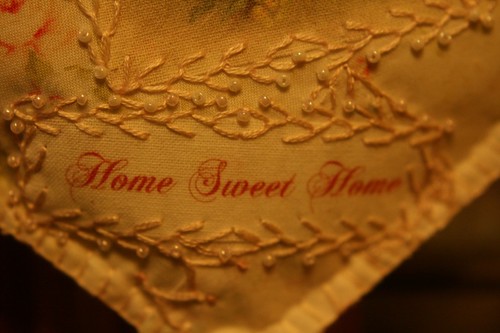
As you can see, Anita does beautiful work.
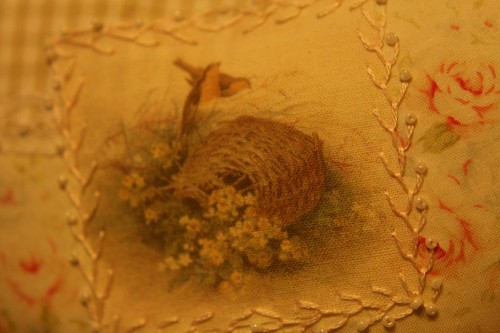
The sweetest birds!
Thank you so much Anita!
Thank you for stopping by for a visit, I hope your week is going well!
ETA: Anita just told me in the comments that she is posting the details of a Valentine Giveaway tonight. Be sure to stop by for a look!
Monday, January 26, 2009
National Pie Day
Thank you to all who joined in for show and tell this past Friday and your sweet comments on my baby cross-stitch hangers! Did you know that Friday was also National Pie Day? I heard about it from Mrs. U who has several wonderful pie recipes on her blog right now.
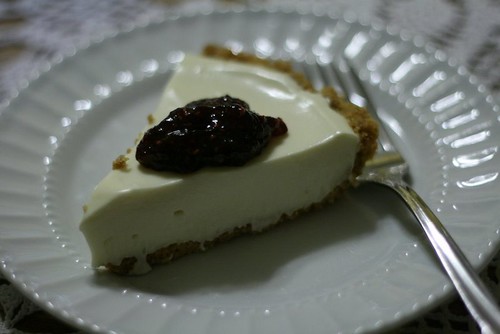
When I mentioned the special occasion to Phillip he suggested Cheesecake Pie, so the girls and I put on our aprons and got to work.
Cheesecake Pie
1 (9-inch) baked graham cracker crust
1 (8-ounce) pkg. cream cheese, softened
1 (14-ounce) sweetened condensed milk
1/3 cup lemon juice
1 teaspoon vanilla extract
In large mixer bowl, beat cheese until fluffy. Gradually beat in sweetened condensed milk until smooth. Stir in lemon juice and vanilla. Pour into prepared pie crust. Chill 3 hours or until set.
We also made RuthAnn's Hillbilly Spaghetti Pie. She uses a cast iron pan, but since I don't have one, a 9 x 13 pan worked great, too.
A few minutes under the broiler got the mozzarella nice and bubbly. Definitely a repeat recipe!
This week we'll be getting ready for Grace's 11th birthday. I can't believe the 1st of February is right around the corner!
Thursday, January 22, 2009
Show and Tell Friday!
Welcome to “Show and Tell Friday!” Do you have something special to share with us? It could be a trinket from grade school, a piece of jewelry, or a treasured collection. Look around your home for something to share; dig through those boxes in your closet if you have to! Share photos and the story that goes with your special item.
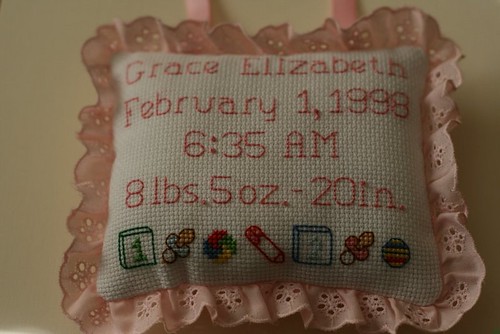
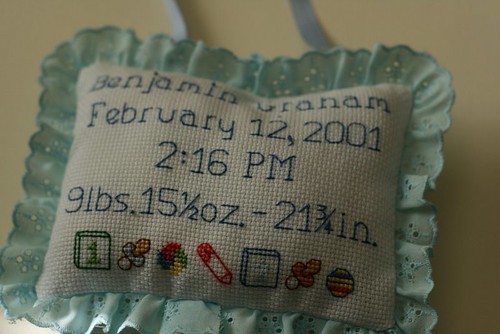
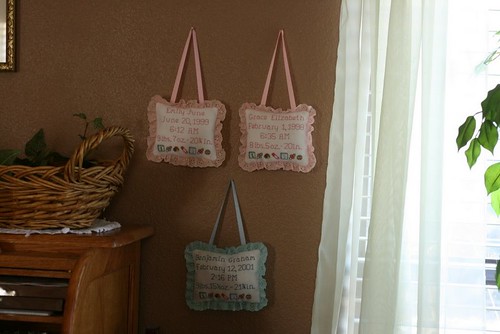
Almost 11 years ago, Grace was born. The wife of one of Phillip's co-workers made us this cross-stitched sign, which we hung on Grace's bedroom door.
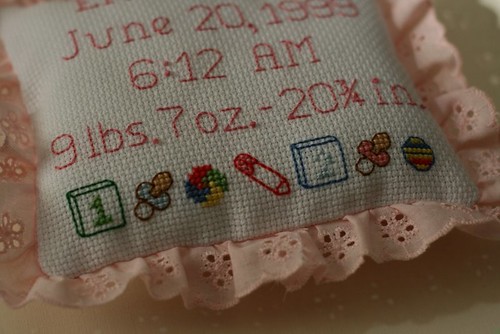
She made one for Emily 16 months later.
And one for Benjamin 19 months later.
This past summer Grace and Emily asked if they could take them off their door. I was very sad, but said yes and tucked them away. This past week, Benjamin asked to take his down, too.
I decided to hang them in this little spot in our bedroom. Maybe someday they will want them back on their doors. Thank you for looking at my short and sweet (hopefully!) show and tell!
ETA: When our midwife weighed Benjamin the scale went back and forth between 9lbs. 15 1/2 oz. and 10 lbs. I insisted she go with the smaller number. :0)
Please read the Show and Tell Guidelines for step-by-step instructions on how to participate.
If you would like to join in, please leave your *permalink* below, along with your first name only (this makes the list easier to read). If your link has been removed from Mr. Linky, please re-read over the guidelines before re-posting. Have fun!
Wednesday, January 21, 2009
Homemade Cards~Paper Crafting Thursday!
The winners of last week's paper crafting are Becky and Claire. Please email me your addresses and I'll get your prizes in the mail!
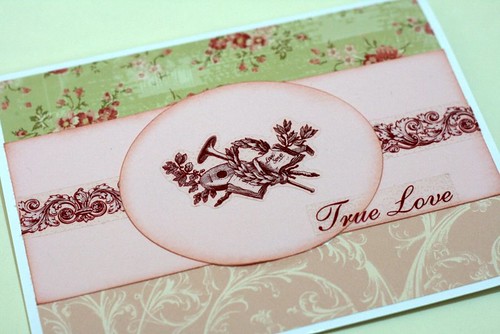
Welcome to this week's card making project!
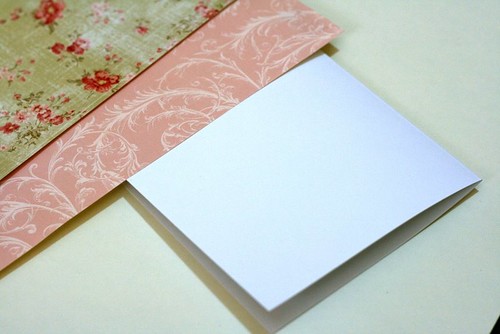
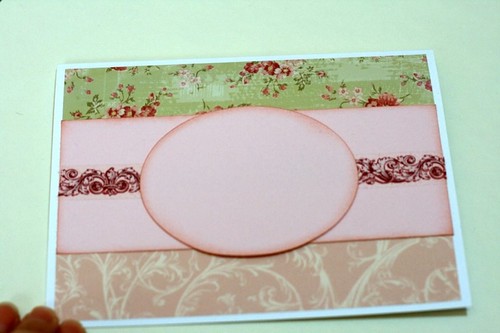
You will need a blank 6 1/2" x 5" notecard and paper and stickers of your choice.
Cut 2 - 6 1/4" x 1 1/4" strips of scrapbook paper and glue to front of card, as shown.
Cut a 6 1/4" x 2 1/2" strip of paper or cardstock and glue to center of card.
I shaded the edges with a pink ink pad before gluing.
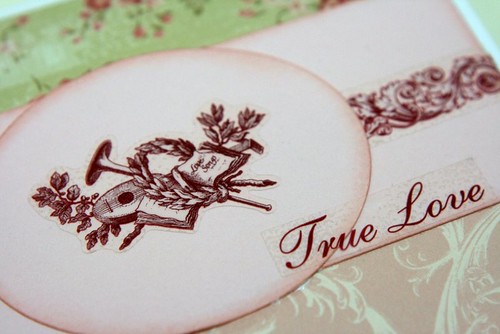
Add a sticker strip, lace or ribbon.
Cut a oval from matching cardstock (approx. 3 1/2" x 2 3/4") and glue to center of strip.
Add more stickers.
Send to a friend!
~More Homemade Cards~
A few more things I've made recently...
Items can be found in my Etsy Shop!
Paper Craft Fun: Post any kind of paper craft (card, bookmark, tag, banner, journal, etc.) on your blog between now and next week and come sign Mr. Linky. Next Thursday, I will draw two of the names and the winners will receive supplies for a homemade card: blank notecard, envelope, and an assortment of scrapbook paper, stickers (or stamped images), and ribbon. Link back here in your post, so that others will know where to join in the fun, too!
Tuesday, January 20, 2009
Spring Cleaning in January?
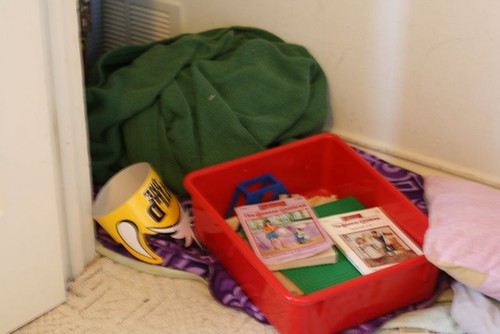
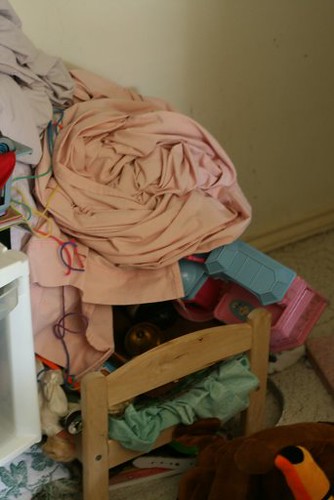
Thank you for stopping by for a visit and your comments on my winter centerpiece. Things aren't always neat and pretty at my house though, and I have the pictures to prove it!
I woke up Monday morning inspired to work on the bedrooms. The girls and Benjamin do a great job cleaning and organizing their bedrooms when they put their minds to it, but they also love to get everything out at once, build forts, have sleepovers and then leave everything a mess. Now I know why my linen closet has been empty for the past month!
I also realized that they still had all their "baby" toys in their closets, taking up storage space that could be used for things they actually play with.
I let the girls and Benjamin decide what to get rid of and they filled up lots of boxes for Goodwill. I kept the washer and dryer busy.
Even Daisy was hard at work.
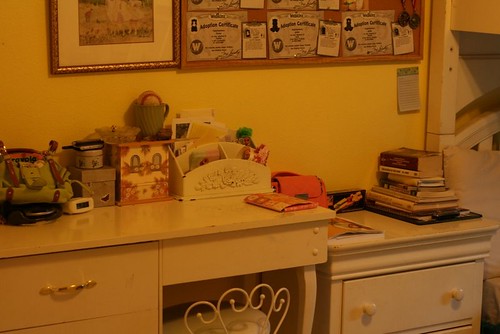
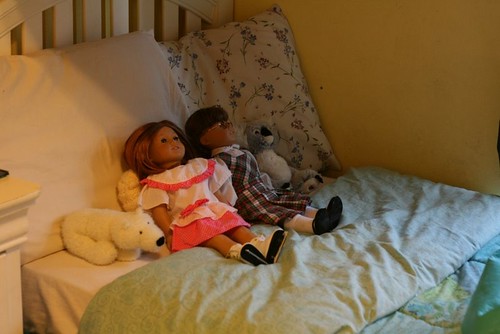
Much better!
We were so proud of all their hard work, we went out for dinner and then ice cream. Hopefully it will still look like this next week. ;0)