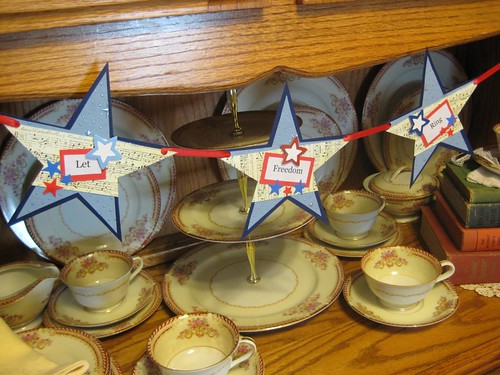
I normally post a homemade card project on Thursday, but this week I am sharing a different paper craft.
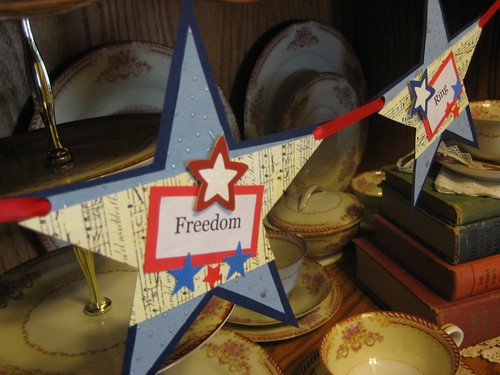
A patriotic banner in honor of the upcoming holiday of Independence Day.

You will need:
Cardstock
Patterned scrapbook paper
Star Template
Embellishments (stickers, star confetti, beads, glitter etc.)
Ribbon
Scissors
Glue
Hole punch
Pencil

Cut out star template (outside the black line) and trace three stars onto cardstock.
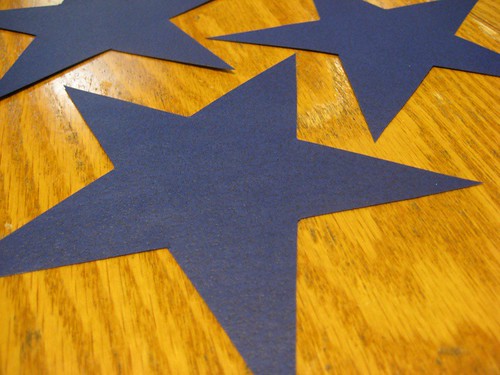
Cut out.
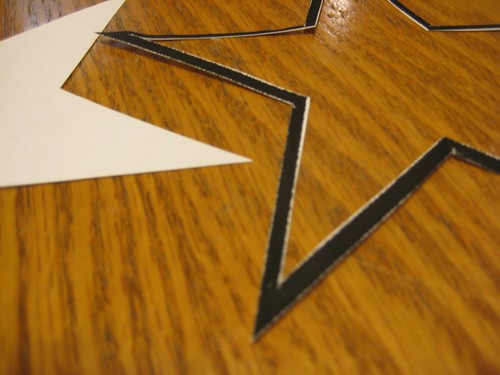
Cut black line off star template, so you have a slightly smaller star.
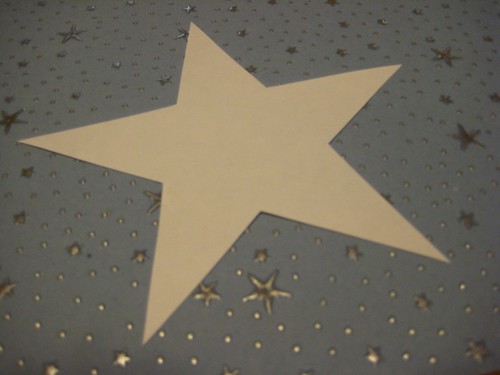
Trace three times onto patterned scrapbook paper.
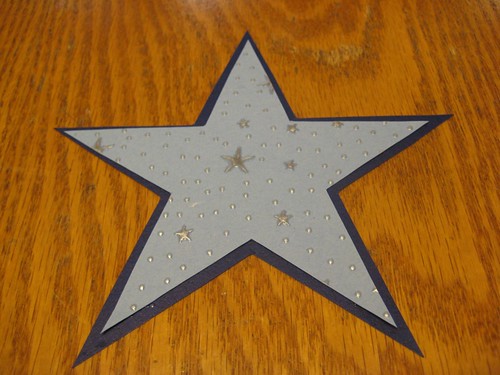
Cut out and glue to the front of cardstock stars.

Glue a strip of scrapbook paper across front of star.

Turn star over and trim off excess paper.

You should end up with this.
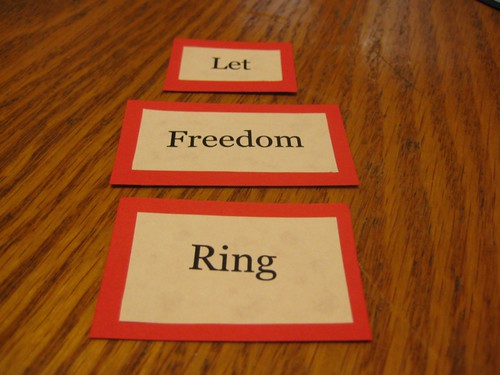
Print "Let Freedom Ring" (or saying of your choice) on white paper. Cut out and glue on slightly larger rectangles of cardstock.
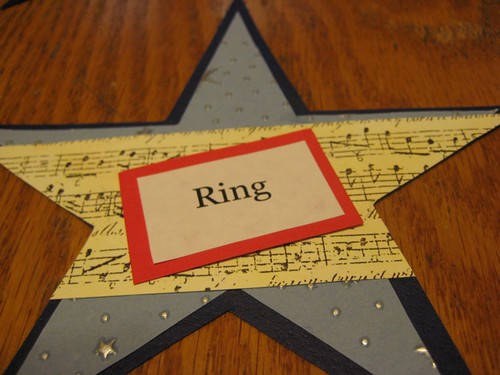
Glue to front of stars.

Add embellishments.
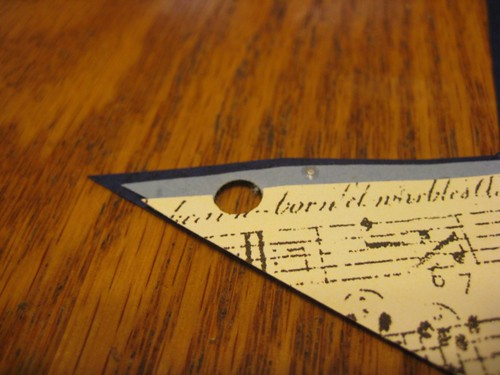
Punch holes on both sides of stars.

Thread long length of ribbon through.
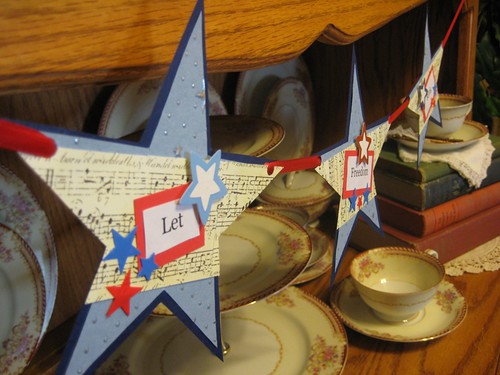
Hang and enjoy! I hope you have enjoyed this week's project!

24 comments:
That's a great banner! I wish I had the talent to do these paper crafts/scrapbooking. That's my Christie's domain.
Oh, and speaking of Christie, her birthday was on the same day as your anniversary! HAPPY ANNIVERSARY TO YOU AND YOUR BELOVED!!!
That's really cute! I wonder where you get all your neat ideas.
Kelli, I love this craft! It's really pretty, and not at all cutesy!
What a totally great idea!
thanks
T
I just love it! As always, thanks for sharing the instructions...I appreciate that! I'll be sure to post a photo (and where the idea came from, of course!)on my blog if I make one.
Have a sweet day, Kelli!
hey there cutie,
your banner is darling!!!
love it!!
oxooxx,
jessi
The banner is perfect for the 4th! I only wish my crafty stuff was unpacked by then (we drive out of Texas Saturday, household goods won't be to us in Kansas until a week and a half or two later) so I could indulge in some holiday creativity!
Check out my Show and Share Thursday: Wedding Gift- I think you and I both used the same music paper! :)
What fun!
Just before I started my last year of teaching I went to Hobby Lobby and found all their 4th of July things for 90% off. I filled that classroom with all sorts of red, white & blue things. This post reminded of that and brought back all sorts of fun memories. It was a fun year-my first and last of teaching Kindergarten. I think I need to go get some of those things out of the tub in the basement and brighten up the house.
Maybe I'll get inspired to make a banner as well. Of course, I need to finish up my art swap projects first...
Hi Kelli,
You made a beautiful banner! Thank you so much for the instructions. I am going to try to make one next week! :-)
Mrs. H.
Very patriotic. You are so creative! I can think of several places to hang these in my house.
Hugs,
Theresa
Very very cute :)
Stephanie
I love decorating for the 4th. It stays up all summer long until I change things for Fall !
This is perfect! I've been looking for a Fourth of July craft I can do with my son. Ours won't look as beautiful as yours, I'm sure, but it looks like a fun thing to make.
Where you when my kiddos were small? This is adorable!!!
You are so talented! I always love how great your banner looks. I'm disappointed that I'm not going to be able to incorporate this project into my Sunday School class. We actually have great curriculum this quarter. I would love to have nice things like this around the house for the holiday.
Have a wonderful day!
Your ideas are so fun and pretty!
I took your idea of your old dishes you set out and got into a beautiful set of blue china my mother gave me and set this out in my dining room.
It reminds me of her and special times.
This is a wonderful project Kelli. I especially love the embellished stars.
You have so many wonderful ideas!
That is really nice! I sure like that paper with the metallic stars. Thank you, Kelli.
Nancy
How cool! It looks perfect! I have problems cutting straight lines! I like how you have step by steps~~I have always been a picture person~~I mean I can read but I'd rather look!
Terrific idea, Kelli, and as cute as a button! I'll try my best to make one soon - the kids will love it!
Kelli, you are soooo talented! Martha better watch out for you! :)
Hi Kelli,
Your banner turned out so well and your tutorial was great. Best wishes to you and Phillip on your wedding anniversary!
xo
Very nice banner. I am thinking that next year I could do a maple leaf one for our Canada day. Thanks for posting the directions.
Happy anniversary to you and your husband. May you have many more.
God bless
Oh I want to do this project too!!!
Thanks for sharing!
Love,
Kelly
Really great craft! I wish I was as organized as you. I dont have enough time to do things like this. But I am trying.
Blessings
Crystal
Post a Comment