The following two Valentine projects were originally posted on my Seasonal Delight's site, in 2008. I recently had requests to share them again since the site crashed, so here they are!
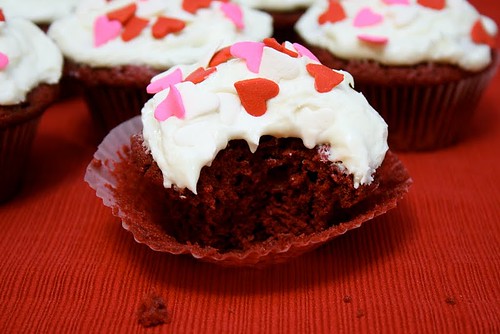
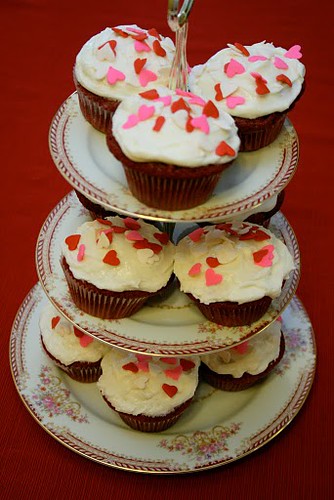
 Red Velvet Cupcakes with Cream Cheese Frosting
Ingredients:
2 1/2 cups flour
1 1/2 cups sugar
1 1/2 teaspoons baking soda
1 teaspoon salt
3 tablespoons cocoa powder
1/2 cup butter
1 cup buttermilk
2 eggs
1 tablespoon vinegar
1 teaspoons vanilla
2 tablespoons red food coloring
Directions:
1. Preheat the oven to 350F degrees. Line 18 muffin cups with cupcake papers.
2. In a medium bowl combine the flour, sugar, baking soda, salt and cocoa powder. Mix well.
3. In the bowl of an electric mixer beat butter, buttermilk and eggs until combined. Add the vinegar, vanilla and vinegar and mix well.
4. Add the dry ingredients to the butter mixture and mix until smooth.
5. Spoon batter into prepared muffin cups.
6. Bake for 18-20 minutes, or until a toothpick inserted into the center of a cupcake comes out clean. Remove cupcakes from pan and let cool completely.
Cream Cheese FrostingIngredients:
1/2 cup butter, softened
1 (8 ounce) package cream cheese, softened
4 cups powdered sugar
1 teaspoon vanilla extract
Directions:
1. In a mixing bowl beat the butter, cream cheese, and vanilla until creamy.
2. Gradually stir in the powdered sugar until smooth and fluffy.
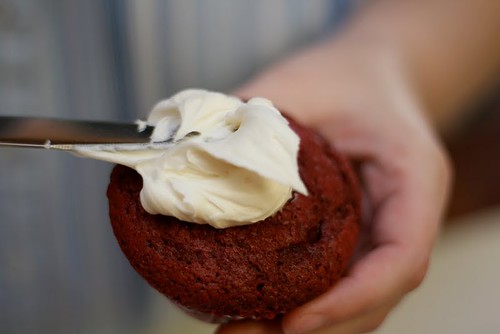
3. Using a knife, spread frosting over each cupcake.
4. Add valentine sprinkles of your choice.
Let me know if you try them!